Showing posts with label Up-Cycle. Show all posts

Monday, September 1, 2014

Wire Sculptures: DIY Anthropology Hack

I love Anthropologie, but it is one of those stores that will sell you a walrus head made out of craft paper for $1,250.  Often there are times I find items that make me say aloud " I can make that for waaaayyy cheaper!" This tutorial is the product of one of those times. While purusing Anthorpologie.com I came across a series of wire sculptures. They were the perfect mix of whimsy and crafty goodness that I really go for. My issue was they were $48.00 each and reviewers noted they were on the small side and kinda flimsy. I get it, you can't please everyone, but you can DIY sturdier version, and bigger if you have enough wire hangers on hand. The possibilities on this hanger hack are endless. Another plus, is it would use up some of those pesky wire hangers from the dry cleaners that I refuse to use and hate to throw out. 


Here is the original from Anthropologie. Super cute right.
$48.00 on Anthropolgie.com


HERE'S WHAT YOU NEED:
  • A wire hanger
  • Wire cutters


HERE'S WHAT YOU GOTTA DO:


1) First unwrap the coiled wire at the bottom of the hangers hook


2) Start shaping your wire to make the word you want. I chose a word that was short and sweet. "Love" only has four letters and served as a good trial word. 


3) Clip off any excess wire and  the ends of the wire.


This project, not counting the cost of dry-cleaning ($2.50), cost me $0 dollars to make. Even if we wanted to count dry cleaning, that is still a heck of a lot cheaper than $48.  


"No more wire Hangers!"


Notes: These were really tough to bend so be patient, or buy a soft gauge wire from a craft store. It will be a lot easier to bend, but will be a lot more fragile
- My letters are not perfect, as you can see, but I thought they looked crafty and cool for my space. If you want more refined letters, opt for the softer gauge wire. 


Life Is Delicious...Go Taste It!

Monday, August 11, 2014

How to Protect Your Costume Jewelry


Costume jewelry is a fun and inexpensive way to add some jazz to any outfit. However custome jeewlry is ususally made of plated metals and will fade. I got tired of watching my favorite pieces fade to an undesirable shade of blah, so I started protecting my tiny investments with a clear coat of Modge Podge. Check out the instructions below.


Here's What You Gotta Have:
  • A wire hanger
  • Tape ( Pictured here is painters tape, but I'd Imagine any tape will do)
  • Pliers
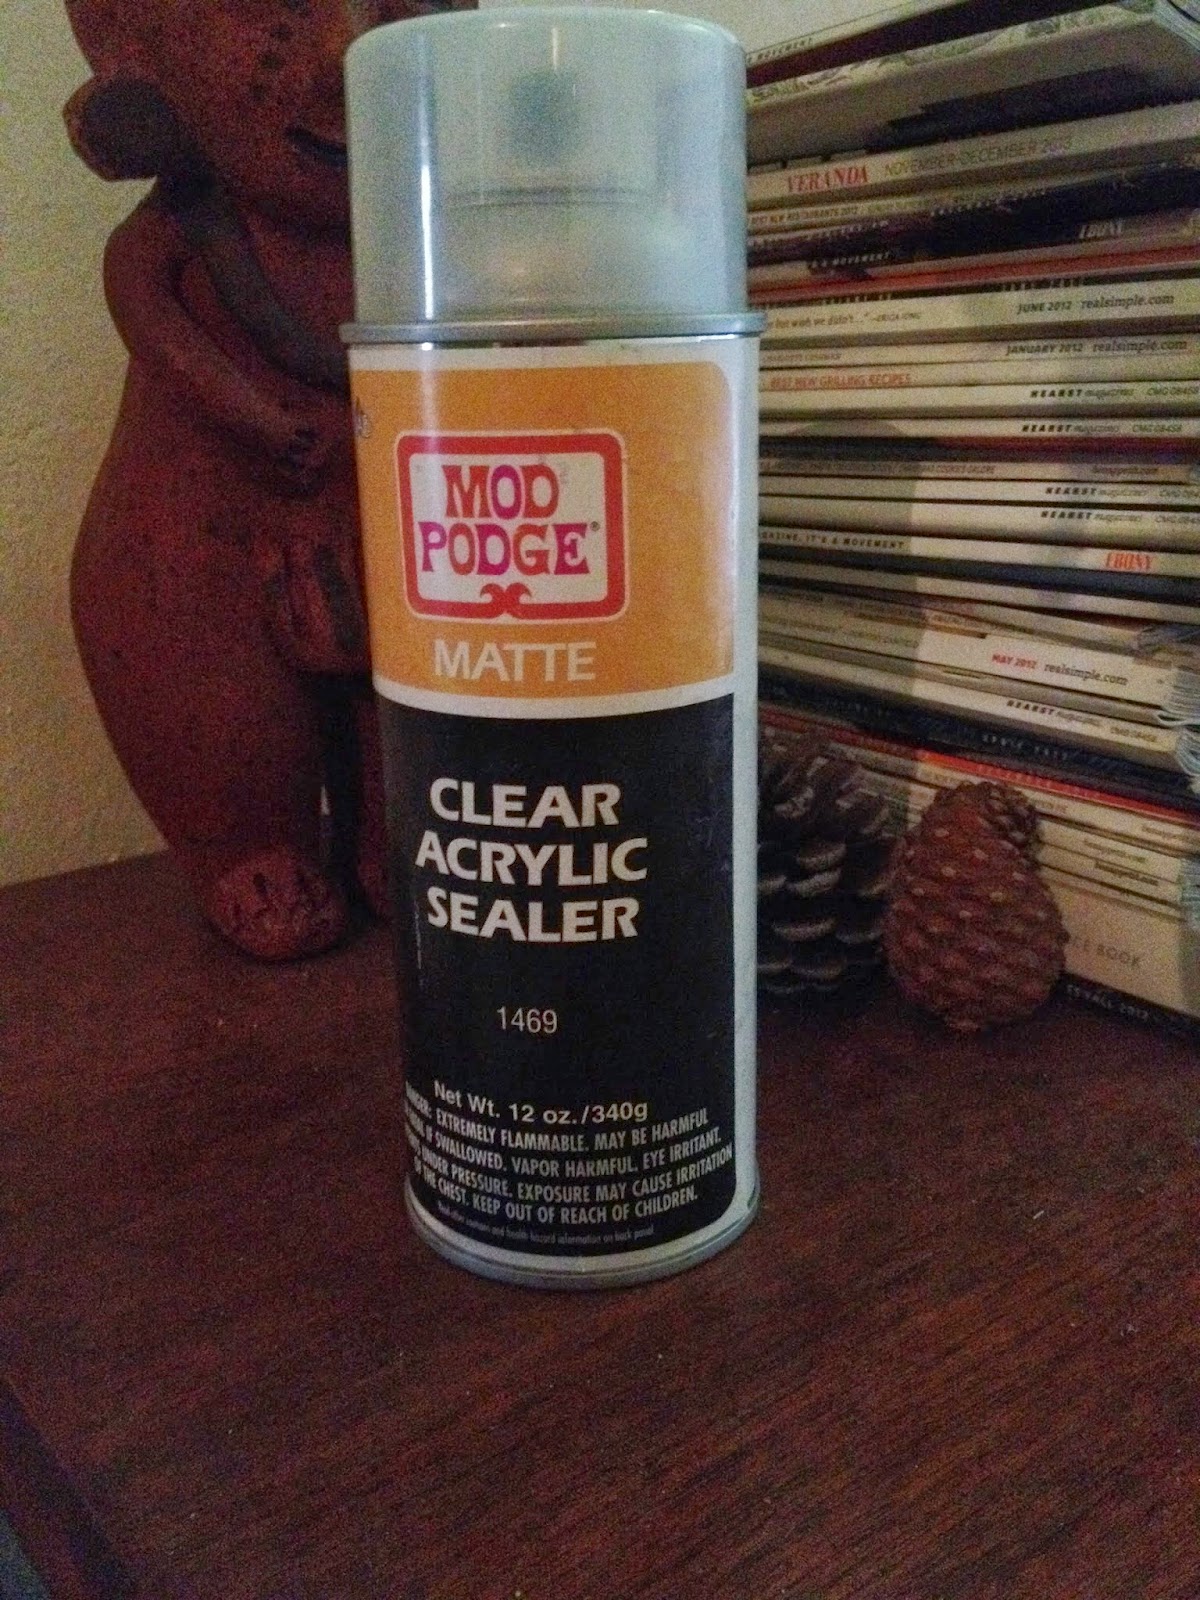
  • Clear acrylic sealer or clear spray paint 


Here's What You Gotta Do: 


Use the pliers to undo the area where the hanger wire connects. 
Then create a small hook on the end opposite the larger, already existing, hook.  


Tear the tape into various sized pieces to accommodate various sized jewelry.


Place the jewelry on the hanger in between the tape to prevent the jewelry from drying stuck together. 
Connect the two hooks of the hanger. 


Hang the jewelry hanger in a well ventilated area and spray a thin even coat of the sealer on the jewelry using a sweeping motion.

Note: I used matte clear acrylic sealer  because the jewelry I was protecting had a brushed metal finish. 
I use the regular clear sealer on shiney items. 


Let the first coat dry according to the sealant instructions
 and apply a second coat for extra protection. 
Let the jewelry dry completely according to the sealant instructions before wearing. 


Enjoy your beautiful baubles!


Life Is Delicious... Go Taste It!


Wednesday, July 23, 2014

Whirlwinds and Other Blessings

Okay so  its been a long while since I wrote a post. I can assure you it has not been because life has not been absolutely chock full of deliciousness. In fact I think its been so chock full I've been busy eating it up. A lot has happened so let me fill you in.

On May 9th I found out that I passed the Arizona bar. Wohoooo! All that hard work and forfeiture of fun was not in vain. Then, as is the next logical step, I decided to start my own law firm. Yep, Keo'vonne Wilson Legal, PLLC is officially a thing now. I hosted a launch party which just so happened to coincide with my birthday. Yep, I had a birthday and threw myself a party. It was wonderful!  I also built a website, created business cards and marketing merchandise ( magnets, t-shirts, social media accounts). I am so proud of my little start up.

I also got a very awesome video from my sister and bro-in-law back home. KJ, my nephew, is crawling! I am so excited. It has been an amazing journey watching him grow up. I am so thankful for social media and technology because I don't have to miss a moment.


With a new business, interesting clients, networking, blogging for the firm, cooking, attempting to push the limits of professional wear, it has been the most delightful whirlwind!


Below is a photographic peek at all of the delicious-ness
The order of events is a little hazy but it's all great.


                                                This is how I celebrated passing the bar.


Well I passed the Bar here, so I figured it was time I finally became a licensed Arizona Driver. 


Here is the hummus I made for road trip to Cali Number 1.


Rice Noodles with kale, bell peppers and mock beef. 
Gosh I hope I wrote down this recipe somewhere.


Granola I made for Road Trip To Cali Number 2. 


This was a photo used on my birthday/website launch invite.
Pretty snazzy huh!


Days before my birthday my sister's birthday gift to me came in the mail. 
A rice cooker! This woman knows me too well. 
My old one crapped out months ago. 


Rice cooker's maiden voyage, Spicy rice and beans. 


Birthday bling for birthday/launch party. 


The business cards arrived just in time for the birthday bash. 


The party favors were gourmet cupcakes in these cute takeout boxes. I pulled out the shoe-string looking ties and replaced it with ribbon that coordinated with the business card style magnets. 


I enjoyed this blue cheese stuffed olives in my dirty gin martini. Of course I hosted my birthday/launch at Hanny's. I love this place, this martini...


...and these people. 


This was one of the only time I enjoyed yogurt. I really dont like it unless it's mixed in something. Summer ripened peaches, a light dusting of ground ginger, agave and toasted oats and almonds. 
This was a perfect breakfast.


I FINALLY made my sister's super simple eggplant parmesan. 
I will share this recipe soon. 


Homemade almond pesto. 
I have since killed the basil plant, but the legend of the pesto live on.


Heading to the gym wearing one of the t-shirts I designed featuring my firm's moto

"Turn Your Dream Into Your Legacy"

Shield your eyes from the dirty mirror.


This is what Bono looks like with his summer do. I didn't realize how smal this dog really was. 
He still believes he is half great dane, half Beyonce. 


Went to Vegas for the 4th of July watch my "little" cousin, Leena Star, open for Doug E. Fresh. 
She is a little fire cracker on the stage and off. 


Us being silly and posing for a fan picture in front of the poster she is on. 
We had a blast at the afterparty!


Rang in the 4th of July celebrations at a Pho place in Treasure Island. 


Yum!


Taking shelter from the heat of the Las Vegas Stip in on of the many casinos. 


Riding on the highway with the top down seemed like a good idea...


It was not!


Selfie after dinner in the Ling Ling Lounge on the third level (of five) at Hakkasan. 
Hakkasan is allegedly the hottest restaurant in Vegas. 
The food was exceptional, but it was so dark that the guy at the next table lent me his phone with a flashlight app to read the menu. 


At this point in the night, the only thing I was fighting was sleep. It was a great end to my Vegas trip!


I've begun tutoring this cutie twice a week in preparation for kindergarten. 
My cousin's son keeps me laughing the entire time.


After finally cleaning out my car, I made this handy organizer to keep things in reach but out of the way. 
Instructions coming soon.


My World cup outfit. Go 'Murica!
Picked up that tie for a dollar.


This is the local pub at 10am on a tuesday during a USA World Cup match. 
I kept wondering, where do these people work?


Mom's birthday gift arriving the standard month later. 
After my last phone bit the dust, mom made it clear that I had no more excuses. 


Bono finding comfort in sweaty gym bags. 


Life is Delicious...Go Taste It!


Tuesday, April 22, 2014

Going Home: DIY Chandelier Makeover

One of the first things I noticed when I walked into my sister's new home was the chandelier that is the topic of this post. It was a classic piece, grand, detailed and oozing with potential. My sister saw it as dusty, old fashioned and trash worthy. Like I said before, the amount of trust my sister put in my offbeat vision was awesome! We hashed out a plan to give the dingy chandelier a new life. I was inspired by a recent trip to New Orleans. That city has got a good handle on bringing modern sensibilities to traditional pieces. Cafes and shops were filled with vintage pieces that were traditionally crafted and ornately carved but covered with a modern print fabric or a coat of paint in an unexpected color. There was a marked nod to the classics and an ushering in of "fresh". We would bring in a little but N'awlins  by updating the chandelier with a coat of glossy black paint. Pairing the classic profile with a unexpected color saved the chandelier from the trash heap. 


First things first. This bad boy had to be cleaned. Years of dust and grime had settled
 on the fixture. I used Windex and a soft microfiber cloth to get it cleaned. A lot of the crystal pieces were barely hanging on, so I had to rewire quite a bit of them. 


Next, I used a primer. Seen here on the right. The glossy black paint  that I used as the final color is seen here on the left. 


I  stuffed the light bulb sockets with cotton balls to keep the paint from getting inside and interfering with the electrical elements of the chandelier


This is the chandelier after the first coat of primer. 


 It took two coats of primer to cover the clear spots. It looked cool white, but I couldn't even imagine the amount of dusting required to keep it that way. 


It took three coats of the glossy black spray paint to cover the entire chandelier. If I had to do this project again, I would have looked for a primer made specifically for darker colors. 


 The amount of detail in this chandelier was amazing. 
It was a challenge to paint everything, but so worth it!


This was my painting studio backdrop for the afternoon, I couldn't complain too much really. 


I ended up taking off the larger hanging pieces because two were missing. 
Removing the bulky crystals gave the piece a more balanced  look. 


The black really stands out against the rich mandarin color of the dining room walls. 


The final product, wired and hung, in the formal dining area.  
Seriously it's smashing!


Life is Delicious...Go Taste It!