Showing posts with label refurbish. Show all posts

Monday, September 1, 2014

Wire Sculptures: DIY Anthropology Hack

I love Anthropologie, but it is one of those stores that will sell you a walrus head made out of craft paper for $1,250.  Often there are times I find items that make me say aloud " I can make that for waaaayyy cheaper!" This tutorial is the product of one of those times. While purusing Anthorpologie.com I came across a series of wire sculptures. They were the perfect mix of whimsy and crafty goodness that I really go for. My issue was they were $48.00 each and reviewers noted they were on the small side and kinda flimsy. I get it, you can't please everyone, but you can DIY sturdier version, and bigger if you have enough wire hangers on hand. The possibilities on this hanger hack are endless. Another plus, is it would use up some of those pesky wire hangers from the dry cleaners that I refuse to use and hate to throw out. 


Here is the original from Anthropologie. Super cute right.
$48.00 on Anthropolgie.com


HERE'S WHAT YOU NEED:
  • A wire hanger
  • Wire cutters


HERE'S WHAT YOU GOTTA DO:


1) First unwrap the coiled wire at the bottom of the hangers hook


2) Start shaping your wire to make the word you want. I chose a word that was short and sweet. "Love" only has four letters and served as a good trial word. 


3) Clip off any excess wire and  the ends of the wire.


This project, not counting the cost of dry-cleaning ($2.50), cost me $0 dollars to make. Even if we wanted to count dry cleaning, that is still a heck of a lot cheaper than $48.  


"No more wire Hangers!"


Notes: These were really tough to bend so be patient, or buy a soft gauge wire from a craft store. It will be a lot easier to bend, but will be a lot more fragile
- My letters are not perfect, as you can see, but I thought they looked crafty and cool for my space. If you want more refined letters, opt for the softer gauge wire. 


Life Is Delicious...Go Taste It!

Tuesday, April 22, 2014

Going Home: DIY Chandelier Makeover

One of the first things I noticed when I walked into my sister's new home was the chandelier that is the topic of this post. It was a classic piece, grand, detailed and oozing with potential. My sister saw it as dusty, old fashioned and trash worthy. Like I said before, the amount of trust my sister put in my offbeat vision was awesome! We hashed out a plan to give the dingy chandelier a new life. I was inspired by a recent trip to New Orleans. That city has got a good handle on bringing modern sensibilities to traditional pieces. Cafes and shops were filled with vintage pieces that were traditionally crafted and ornately carved but covered with a modern print fabric or a coat of paint in an unexpected color. There was a marked nod to the classics and an ushering in of "fresh". We would bring in a little but N'awlins  by updating the chandelier with a coat of glossy black paint. Pairing the classic profile with a unexpected color saved the chandelier from the trash heap. 


First things first. This bad boy had to be cleaned. Years of dust and grime had settled
 on the fixture. I used Windex and a soft microfiber cloth to get it cleaned. A lot of the crystal pieces were barely hanging on, so I had to rewire quite a bit of them. 


Next, I used a primer. Seen here on the right. The glossy black paint  that I used as the final color is seen here on the left. 


I  stuffed the light bulb sockets with cotton balls to keep the paint from getting inside and interfering with the electrical elements of the chandelier


This is the chandelier after the first coat of primer. 


 It took two coats of primer to cover the clear spots. It looked cool white, but I couldn't even imagine the amount of dusting required to keep it that way. 


It took three coats of the glossy black spray paint to cover the entire chandelier. If I had to do this project again, I would have looked for a primer made specifically for darker colors. 


 The amount of detail in this chandelier was amazing. 
It was a challenge to paint everything, but so worth it!


This was my painting studio backdrop for the afternoon, I couldn't complain too much really. 


I ended up taking off the larger hanging pieces because two were missing. 
Removing the bulky crystals gave the piece a more balanced  look. 


The black really stands out against the rich mandarin color of the dining room walls. 


The final product, wired and hung, in the formal dining area.  
Seriously it's smashing!


Life is Delicious...Go Taste It!


Monday, April 14, 2014

Going Home: The Buffet Revamp Part 2


I am so excited to share part two of the trash-to-treasure buffet revamp.  In a previous post, I wrote about a discarded buffet my sister and I picked up after a neighbor left it out for trash . The top part became a dry bar for the formal dining area in my sister's new home. (See the awesome Dry Bar) The bottom half became a lovely accent table for the formal living room.


First I began by sanding all of the pieces. I used a light sand on the buffet because the top portion is made of pressed particle board. Sanding allows the paint to adhere better to the painted surface.
Ignore the ashy legs and paint in hair.


This is actually the bottom part of the buffet and will serve as an accent table in the formal living room area. 


We used the same turquoise from the living room accent wall to cover the bottom half of the buffet.


We changed out the original hardware (same as the handle on the top of the buffet) in exchange for these gorgeous acrylic faceted pulls and handles. 


The handles really transformed the piece from whuh? to Wow!


Did some paint touchups after taking these photos. Late night painting usually results in retouches the next day. 


My brother-in-law was happy that we took a chance on some one else's trash because this piece really turned out to be a treasure twice over. 


Life is Delicious...Go Taste It!


Wednesday, April 9, 2014

Going Home: DIY Buffet-Turned-Dry-Bar

I am enjoying the sunshine and breeze of my sub tropical home in between painting walls, sanding furniture and harassing the carpenters. on the day my sister and Brother in law sign the documents for their new home,  we passed a discarded wood laminate buffet. We talked my brother-law into turning around so we could access the situation. The piece was in two pieces and pretty banged up, but there was potential there. It had great detail and hardware. My sister took it as a good sign. The first piece of furniture acquired for there new home was free.
     As we loaded the buffet onto the truck, the homeowners came outside to help us load it onto the truck. My brother in law remained skeptical of our booty but once we got it home and came up with a plan, he gave us the thumbs up. He even came up with the color we would paint the piece that would be repurposed into dry bar for the formal dining area: matte black. 


Buffet-Turned- Dry-Bar


 The dry bar was made out of the top half of the buffet. Since the top of of the original buffet was rough and uneven, we decided to flip the buffet over. The flat surface on the bottom part was better suited for the purpose of serving up drinks and housing decorative items.  Since the bar is technically up-side-down, I flipped the handle after painting. 


Like I mentioned before the buffet was a trash- to- treasure find, so it was not in the best shape.
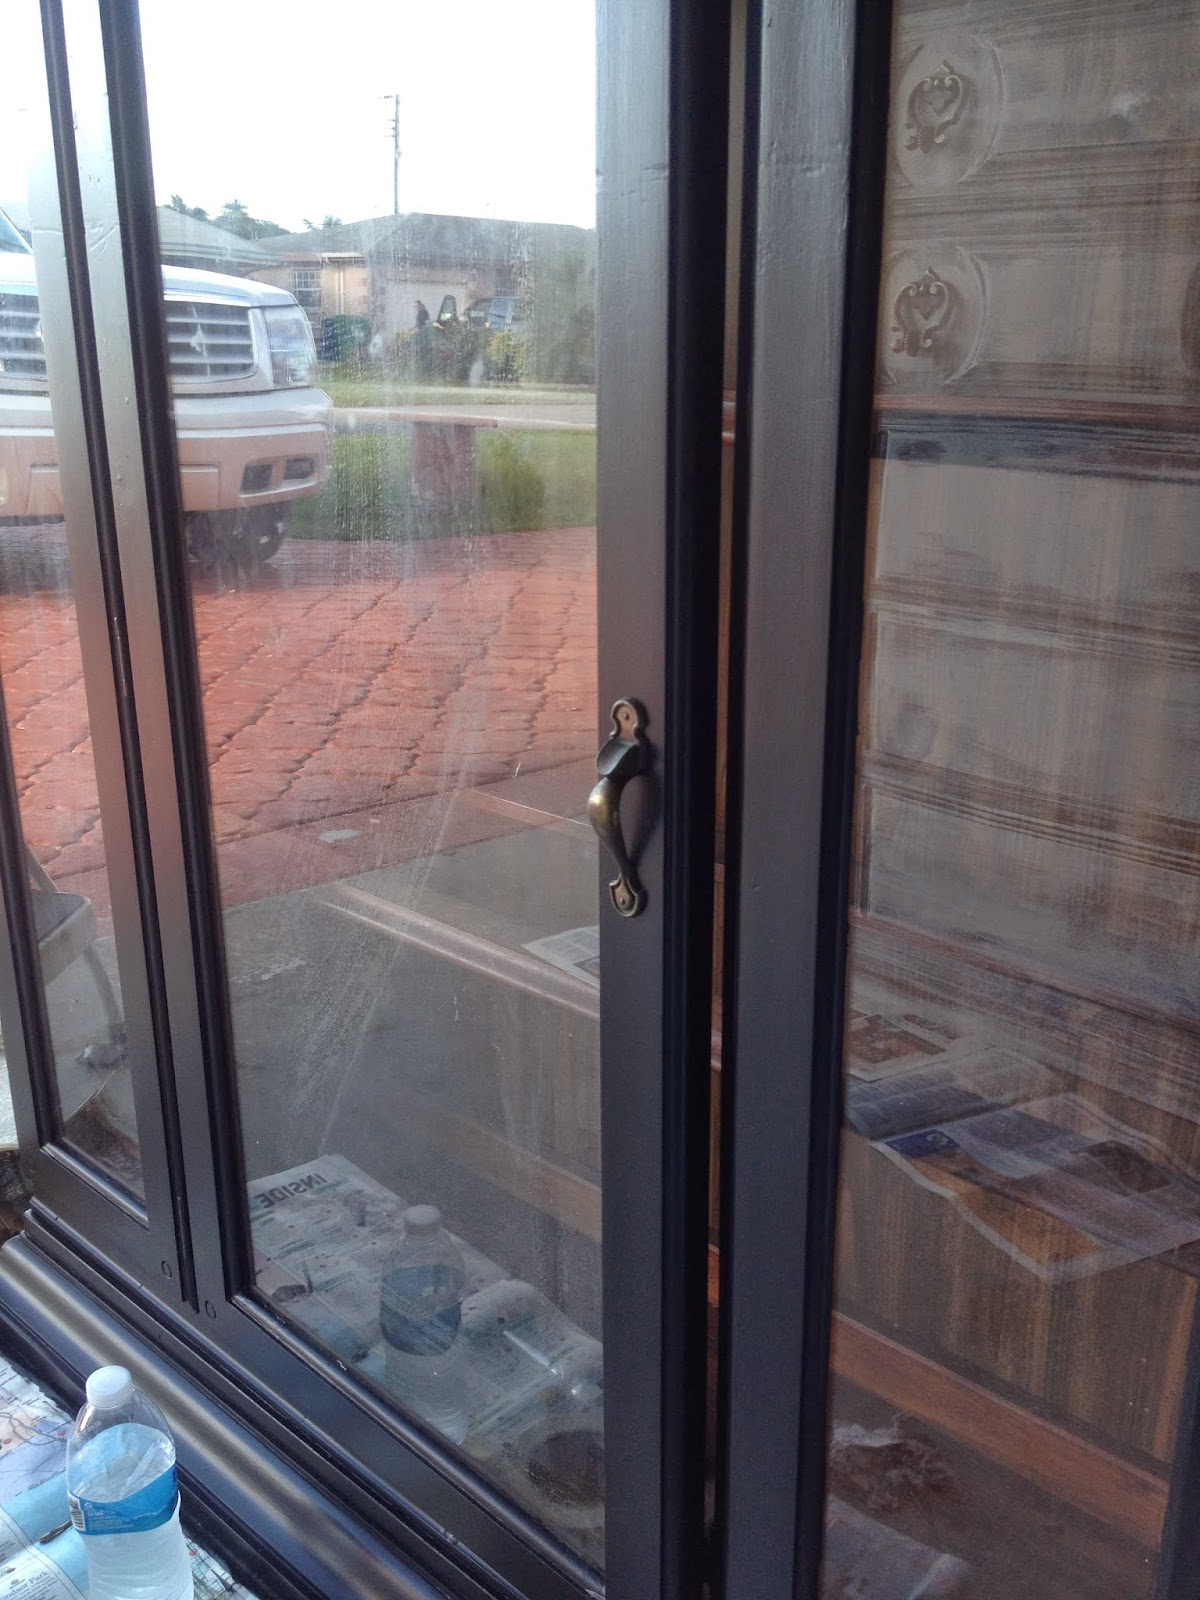
No problem, I wiped the furniture down, all holes were filled with wood filler, and the glass was taped off to avoid paint mishaps. 


Here it is in the dining area after the paint dried. 


We choose to go with a patterned paper to make the piece pop. 


We found this gift wrap at Target on sale for $1.97 a roll. 


 This baby cam a long way. Stay tuned for the DIY side board made form the bottom half of the rescued buffet. 


Life Is Delicious...Go Taste It!


Tuesday, April 1, 2014

Going Home: Sister's New Home

      I knew this time in my life was inevitable, but I never thought I'd get so much pleasure out of it. I boarded a plane in Arizona to visit my family in Miami, Florida. I arrived just in time to celebrate my little brother's 21st Birthday. Two days after our night of club hopping on South Beach, I accompanied my sister and her husband to an attorney's office to sign the paper work to close on their first home. My younger siblings are such amazing people. Being able to watch them grow and prosper is such a blessing. I could not be any prouder.
     Part of the reason I am in Miami is to help my sister and her hubby get settled into their home and to oversee the interior design and decoration. Yay!!! My sister's confidence in my vision for her home is so reassuring. We bounce idea off each other; and with my mom's technical input and brother in-law's taste preferences, we are working to turn their home into a unique and welcoming place. 
      First let's talk "The Before".  The house was painted a very safe blend of pastels, so of course the paint was the first thing we had to change. Below is our color palette. The yellow is for the kitchen, the coral color is for the formal dining area, the turquoise is for an accent wall in the formal living room, dark blue for the den, and dark grey for the master bed room. I forgot to snap the before picks until after we began painting, but the pictures give a good idea of what was going on.


Our new color palette is bold and rich. 


Front door entry flanked by floor-to-ceiling mirrors and a small brick wall. 


The accent wall in the formal living room was the same color grey as the adjacent wall. We had originally planned to paint the whole wall including the creases in between the bricks, but after a coat with the roller I fell in love the fresh look of outlined brick. We plan to go back in to outline the areas that we painted the creases with white. 


The accent wall from another angle.


This house is not short on light. 
The living room features this gorgeous window. 


This picture does not do this coral color justice. I was shocked when my sister gravitated toward this bold color for the formal dining area, but I was also so excited. The formal dining area is not a room in the traditional sense, so a bold color will be vital to defining this space. 


Wider view of the dining area. My brother-in-law posing in the background. 


The kitchen is pastel pink and the cabinets are covered in a laminate. The laminate is peeling off and a few knobs are missing. 


Kitchen Pantry 


The kitchen is a nice size and this area will hopefully be a built in kitchen nook. Right now it houses the old dishwasher. 


The Den is a long narrow space and full of light. 


View into kitchen area from the den.


Den area from another angle. I love this chandelier. My sister wants to trash it, but I think it can be saved. 


View from den to the formal dining area.


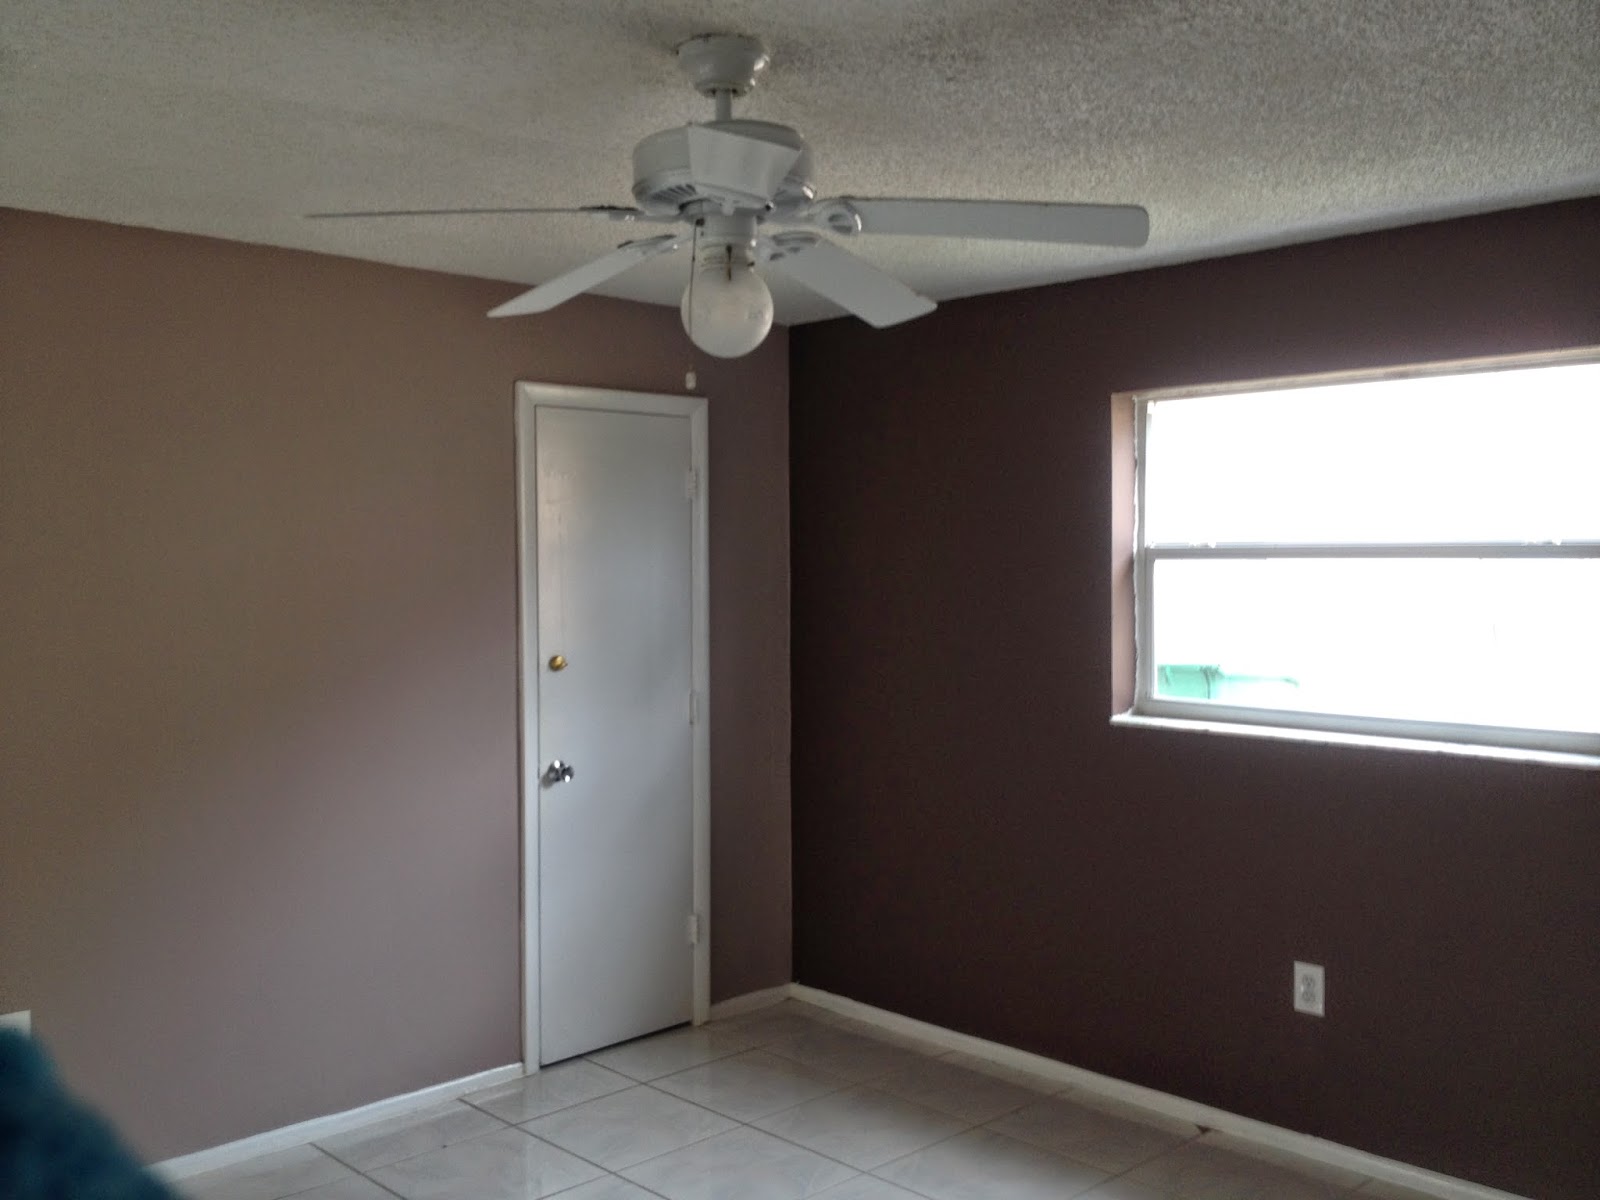
Master bedroom its mauve with a brown accent wall. 
Yep, that's getting painted over ASAP!
The slinging door also has to go, it it the only thing separating 
the homeowner's bedroom from their den, that not gonna work. 


Master bedroom angle #2


Guest bathroom. When my sister called me to help out, the first thing she mentioned was this bathroom. I didn't think it was as bad as she said, 
then I saw the purple double sink...ok, it was as bad as she said. 


This shower door has seen better days.


Oh that purple tub. 


Well if you're gonna put in a purple tub and double sinks, might as well put in a purple toilet. 
It's a bathroom only Barney can love!


Inside the tub and window.


My nephew's bedroom, it was a cheery shade of blue.  It is  the only room we will not be changing the color in. 


Closet with scalloped edge shelving, so cute!
That fan is hanging quite precariously. Oh my!


Stay tuned for our progress, craft ideas, and results. I'll share our mishaps, successes and provide plenty of pictures. 


Life is Delicious... Go Taste It!