Showing posts with label Retro. Show all posts

Tuesday, April 22, 2014

Going Home: DIY Chandelier Makeover

One of the first things I noticed when I walked into my sister's new home was the chandelier that is the topic of this post. It was a classic piece, grand, detailed and oozing with potential. My sister saw it as dusty, old fashioned and trash worthy. Like I said before, the amount of trust my sister put in my offbeat vision was awesome! We hashed out a plan to give the dingy chandelier a new life. I was inspired by a recent trip to New Orleans. That city has got a good handle on bringing modern sensibilities to traditional pieces. Cafes and shops were filled with vintage pieces that were traditionally crafted and ornately carved but covered with a modern print fabric or a coat of paint in an unexpected color. There was a marked nod to the classics and an ushering in of "fresh". We would bring in a little but N'awlins  by updating the chandelier with a coat of glossy black paint. Pairing the classic profile with a unexpected color saved the chandelier from the trash heap. 


First things first. This bad boy had to be cleaned. Years of dust and grime had settled
 on the fixture. I used Windex and a soft microfiber cloth to get it cleaned. A lot of the crystal pieces were barely hanging on, so I had to rewire quite a bit of them. 


Next, I used a primer. Seen here on the right. The glossy black paint  that I used as the final color is seen here on the left. 


I  stuffed the light bulb sockets with cotton balls to keep the paint from getting inside and interfering with the electrical elements of the chandelier


This is the chandelier after the first coat of primer. 


 It took two coats of primer to cover the clear spots. It looked cool white, but I couldn't even imagine the amount of dusting required to keep it that way. 


It took three coats of the glossy black spray paint to cover the entire chandelier. If I had to do this project again, I would have looked for a primer made specifically for darker colors. 


 The amount of detail in this chandelier was amazing. 
It was a challenge to paint everything, but so worth it!


This was my painting studio backdrop for the afternoon, I couldn't complain too much really. 


I ended up taking off the larger hanging pieces because two were missing. 
Removing the bulky crystals gave the piece a more balanced  look. 


The black really stands out against the rich mandarin color of the dining room walls. 


The final product, wired and hung, in the formal dining area.  
Seriously it's smashing!


Life is Delicious...Go Taste It!


Monday, April 14, 2014

Going Home: The Buffet Revamp Part 2


I am so excited to share part two of the trash-to-treasure buffet revamp.  In a previous post, I wrote about a discarded buffet my sister and I picked up after a neighbor left it out for trash . The top part became a dry bar for the formal dining area in my sister's new home. (See the awesome Dry Bar) The bottom half became a lovely accent table for the formal living room.


First I began by sanding all of the pieces. I used a light sand on the buffet because the top portion is made of pressed particle board. Sanding allows the paint to adhere better to the painted surface.
Ignore the ashy legs and paint in hair.


This is actually the bottom part of the buffet and will serve as an accent table in the formal living room area. 


We used the same turquoise from the living room accent wall to cover the bottom half of the buffet.


We changed out the original hardware (same as the handle on the top of the buffet) in exchange for these gorgeous acrylic faceted pulls and handles. 


The handles really transformed the piece from whuh? to Wow!


Did some paint touchups after taking these photos. Late night painting usually results in retouches the next day. 


My brother-in-law was happy that we took a chance on some one else's trash because this piece really turned out to be a treasure twice over. 


Life is Delicious...Go Taste It!


Wednesday, April 9, 2014

Going Home: DIY Buffet-Turned-Dry-Bar

I am enjoying the sunshine and breeze of my sub tropical home in between painting walls, sanding furniture and harassing the carpenters. on the day my sister and Brother in law sign the documents for their new home,  we passed a discarded wood laminate buffet. We talked my brother-law into turning around so we could access the situation. The piece was in two pieces and pretty banged up, but there was potential there. It had great detail and hardware. My sister took it as a good sign. The first piece of furniture acquired for there new home was free.
     As we loaded the buffet onto the truck, the homeowners came outside to help us load it onto the truck. My brother in law remained skeptical of our booty but once we got it home and came up with a plan, he gave us the thumbs up. He even came up with the color we would paint the piece that would be repurposed into dry bar for the formal dining area: matte black. 


Buffet-Turned- Dry-Bar


 The dry bar was made out of the top half of the buffet. Since the top of of the original buffet was rough and uneven, we decided to flip the buffet over. The flat surface on the bottom part was better suited for the purpose of serving up drinks and housing decorative items.  Since the bar is technically up-side-down, I flipped the handle after painting. 


Like I mentioned before the buffet was a trash- to- treasure find, so it was not in the best shape.
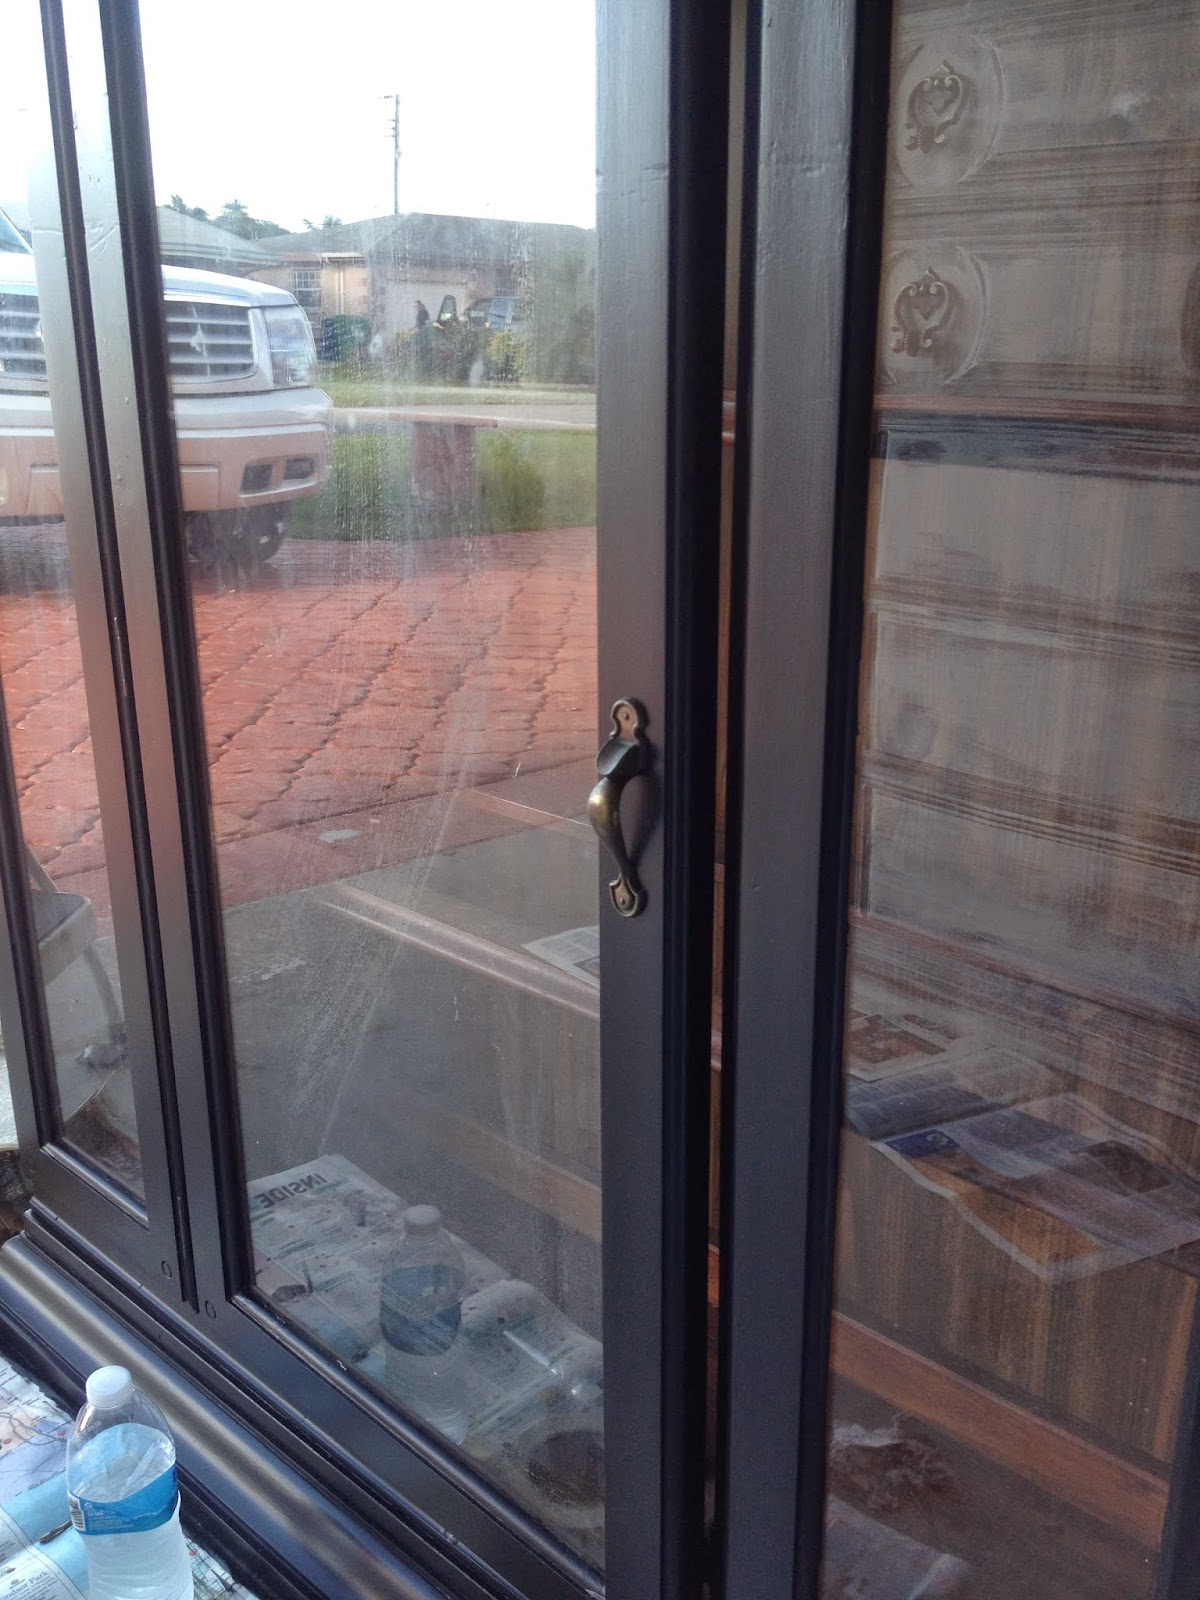
No problem, I wiped the furniture down, all holes were filled with wood filler, and the glass was taped off to avoid paint mishaps. 


Here it is in the dining area after the paint dried. 


We choose to go with a patterned paper to make the piece pop. 


We found this gift wrap at Target on sale for $1.97 a roll. 


 This baby cam a long way. Stay tuned for the DIY side board made form the bottom half of the rescued buffet. 


Life Is Delicious...Go Taste It!


Monday, March 10, 2014

It's Always a Good Time to Turban

Turban wearing is not for the faint of heart, but gosh they are a fabulous fashion accessory. Turbans have been around for thousands of years. Traditionally worn by men to signify a religious sect or social status, turbans began to show up on western trendsetters in the 70's. Turbans are a great "Anytime" accessory. They can be paired with a casual tunic and jeans in the spring, big sunglasses and a swimsuit in the summer, fall coats and boots, and faux fur in the winter; you simply cant go wrong with a turban. This timeless piece really adds a big impact to any outfit and hides dye jobs gone awry, impeccably!


I embellished this $2 turban with a vintage earring.
 I lost the other one a long tome ago, but couldn't bear to throw this one away. 
When hoarding goes right!


Turban in warm weather...


Just as stylish in colder weather!
Road Runner Pin sent as a graduation gift form my Aunt Karen. 


Turban and Treats!


Life is Delicious ...Go Taste It!


Friday, January 10, 2014

High Waist and High Hopes

Last night I rubbed elbows with some progressive Arizonians. I know to some folks this sounds oxymoronic. But there is a great movement of forward thinking and fabulously clad women ( and male allies) working toward social change here in the valley. Arizona's List is a great organization that supports progressive minded women who want to run for an elected office. They provide training,  mentorship, and a solid network for aspiring candidates. The event was held in a modern but warm home right in the Midtown Corridor. It was business casual but the crowd was as friendly as they come. I paired a black and white turtle neck with high waisted cropped trousers for the engagement.


Looking ahead in a casual striped turtle neck from Ann Taylor Loft,
J. Crew high waisted trousers, ( part of a suit, but I opted to go sans matching jacket)


Tip: High waisted pants make your legs look a million miles long.


Green triangle earring: Vintage


There is my clay bead ring from the Yellow Green Farmer's Market in Hollywood, Florida. 
Nail Polish is "Jungle Me" from H&M


Vintage Shoes: Comet Vintage in Chicago (Pilsen) 


Friday, December 27, 2013

These Bags are Clutch for New Years

This New Years don't let your oversized hand bag stop you from making tons of seasonally appropriate bad descisions. Go ahead... have another glass of champagne and you've watched enough YouTube to twerk with the best of them! New Years Eve is for tiny sparkly dresses and even smaller eye catching cluthches. This year will be your year; you need a small clutch in your hands so you can firmly seize it!


Find your perfect clutch below:


Life is Delicious...Go Taste It!


Photos from Nordstrom, Forever21, and Zara