Monday, October 3, 2011

Black Bean Chili Casserole with a Corn Bread Crust

      Fall has come to the Valley of the Sun. That means the temperature has reached the mid-seventies during the day and (dare I say) sweaters are being pulled out of dust covered boxes. After a brutal desert summer, I can finally emerge from the safety of my air-conditioned apartment to enjoy outdoor activities like walking to the car and taking out the trash.
      All it took was one night of chilly weather to usher in Chili season. The cornbread crust in this recipe turns this classic stew into a hearty casserole perfect for sharing. As always, this version can be made with or without the cheese for a vegan friendly option.
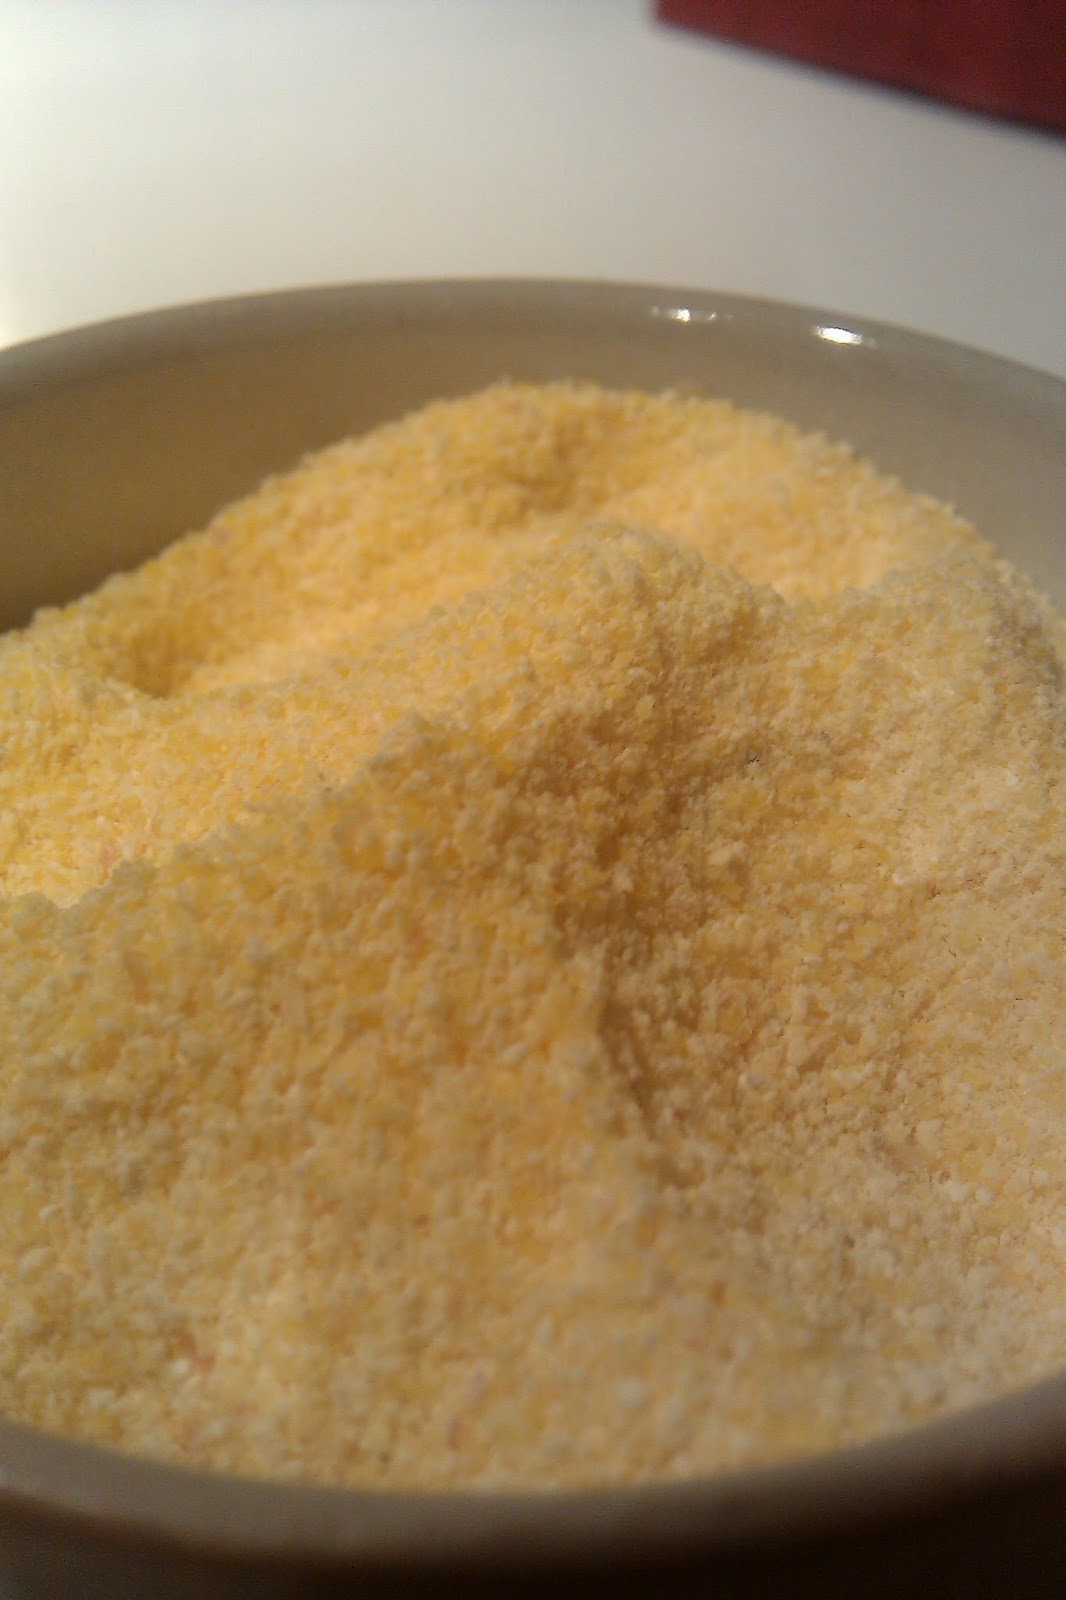

Yellow Corn Meal
Here's what you gotta have...

Chili Filling:
1/2 tbsp olive oil
1 tsp. crushed garlic
1/2 of a medium yellow onion diced
3/4 cup of vegetarian "ground beef" crumbles (optional)
1 tsp cumin
1 heaping tsp of chili powder
14.5 oz can black beans
1/2 tsp of oregano
generous pinch of salt
8 oz can of tomato sauce
14.5 oz of diced tomatoes
8 oz can of corn (drained)

Corn Bread Crust: 
1/2 cup of whole wheat flour
3/4 cup ground corn meal
1/2 tsp of baking powder
8 oz can of creamed corn
1/2 cup soy milk
1/2 green bell pepper finely diced
pinch of cayenne pepper
1/4 cup of grated cheddar cheese (optional)
                                                                           2 tbsp grated Asiago cheese or Parmesan. (optional)


Here's whatcha gotta do:

** Preheat oven to 400 degrees
1. In a large skillet warm oil over a medium/high  heat. Add garlic saute for 1 minute then add onions. saute until onions are golden and wilted.
2. Add "beef " crumbles, cumin, chili powder. Stir and cook for 3 minutes.
3. Add black beans oregano, salt, sauce, tomatoes, and corn. Reduce heat to medium-low and cook for 10 minutes.
4. While chili is cooking mix all of the dry ingredients in a large bowl. Once evenly mixed, add cheese.
5. In a small bowl combine cream corn, soy milk, bell pepper and mix.
6. Add wet ingredients to the dry ones in the lager bowl, then set aside the corn bread mixture.
7. Spread chili into the bottom of a 2.5 quart casserole dish.
8. Gently spoon the corn bread mix on top of the chili and spread to cover the chili.
9. Bake for 25 minutes. Let cool for 5 minutes and serve.


                                  "Life is Delicious...Go Taste it!"

Friday, September 30, 2011

Tangy Kale Salad

  Move over pomegranate, Kale is the superfood de jour.  This leafy green has a crisp nutty taste that lends itself well to stews, stir-fries, and salads. Kale is ripe with antioxidants and is high in vitamins K, C, beta-carotene, lutein, zeaxanthin, and calcium.  The best part about Kale, besides it's long list of body-do-good stuff, is that it is pretty tasty.
  Usually when a waiter points to the "Salad" section of the menu in response to my vegetarian requests, I have to fight back an eye-roll. But with this salad recipe, the only eye-rolling you'll be doing is in pure delight.


Here’s what you need:

  • 1.One large head of Kale (rinsed well, ribs removed, and torn into salad sized pieces)
  • ¼ cup of Lemon Juice or the Juice of 1 lemon
  • 4 tbsps. of a good extra virgin olive oil.
  • 3 cloves of mashed garlic 
  • Red pepper flakes to taste
  • Salt and pepper to taste
  • 2/3 cup of grated Asiago or Parmesan Cheese (for a vegan version add 2 tbsp of nutritional Yeast at step # 2)
  • ½ cup bread crumbs (crushed croutons also work nicely)

Here's what you gotta do:

  1. Mix together the lemon juice, oil, garlic, red pepper, salt and pepper.
  2. Pour this mixture over the kale in a large bowl. Add half of the cheese and mix well.
  3. Let the greens sit for 5 minutes. (this allows the lemon juice & oil time to soften the kale)
  4.  Add the remaining cheese and bread crumbs.
  5. Toss and Enjoy!


This salad is flavorful "as is", but here are some things you can toss in when your feeling frisky:

  • Small marinated mushrooms
  • Sliced red or yellow bell peppers
  • Tomato slices
  • Black olives
                                                         Life is Delicious...Go taste it!

Friday, September 23, 2011

Thai Curry Green Beans


Classes have started again and that means I'm back to cereal for breakfast and lunch (sometimes dinner) but when I have a couple of minutes to spare; greens are king. The recipe below took me about ten minutes to make including prep time. I was able to utilize one of my favorite kitchen tools: the wok. Because stir fries are generally cooked at a high heat it is important that you don't use olive oil, I repeat do not use olive oil here. Olive oil has a low burn temperature and you'll have a kitchen full of smoke in no time. Not that I know personally, but I heard my friend had to crack every window in her one bedroom apartment to get rid of the smoke the first time she test drove her new wok. I mean that's what I heard.


Thai Red Curry Paste


Here's what you need:

  • 1 tbsp vegetable oil
  • 1/2 red onion sliced
  • 16 oz package of fresh green beans
  • 2 tsp tamari or soy sauce
  • 2 tsp Thai red curry paste
  • 2 tbsp almonds slices


Here's what  you gotta do:

  1. Snap off the tops of the green beans. ( the branch looking parts)
  2. Heat oil to medium high  in a wok or large pan. Add onions and stir fry for 1 minute.
  3. Add green beans, soy sauce, and curry paste to the wok. 
  4. Stir to coat beans with sauce. Stir fry for 5 minutes.
  5. Add almonds and cook for and cook for 1 more minute.
Will serve 4 as a side dish*


**Go ahead and make it a meal by adding 8 oz of extra firm tofu seasoned or plain. Cut the tofu into 1/2 inch cubes and add to the wok in the last 2 minutes of cook time. Serves 2.


                                      Life is Delicious...Go Taste it!

Friday, September 16, 2011

Warm Quinoa and Fig salad


The end of summer marks the beginning of school and the end of vacations, but there is something to look forward to. The fleeting days of warmth bring about Fig season. The unique texture and subtle sweetness of a fig almost makes me forget the lingering triple digit weather of the desert. This dish not only looks good, but it's good for you. Quinoa ( pronounced "keen wa") was once refereed to by the ancient Inca as "chisaya mama" ( mother of all grains). Ironically it actually is not a grain, but rather a seed that contains 8 grams of protein per serving along with all eight essential amino acids in other words it is a vegetarian's bff. Since quinoa contains no wheat or gluten this dish also gets green lighted for those with gluten and wheat allergies.


Here's what you need:

  • 1 cup quinoa
  • 2 cups vegetable broth
  • 2 bay leaves
  • 1/2 cup yellow peppers chopped
  • 6 large black figs quartered and sliced
  • 2 tablespoons cilantro leaves chopped
  • 1/4 cup of feta (optional)


Here's what you gotta do:

  1. In a medium sauce pan add vegetable broth, quinoa, and bay leaves and bring to a boil over a medium high heat. 
  2. Lower heat and let the quinoa simmer for 25 minutes. (Liquid should be gone and you will see the white ring around the grain when it is ready.) Remove from heat and let cool for 3 minutes
  3. Remove Bay leaves and add yellow peppers and cilantro (and feta).
  4. Divide to mixture into four serving dishes and top with each dish with 1/4 of figs.

                                                      Life is Delicious...Go Taste it!

Wednesday, August 17, 2011

Crabby Patties

   A trip to Karyn's on Green inspired these "crab" cakes. Karyn's is an upscale vegetarian resturaunt tucked away in the Greektown area of Chicago. Flanked by tzakki slinging restaurants, this sleek eatery's motto is " making vegan sexy". The Vegan crab cakes at Karyn's mimics the texture and taste in such an unbelievable way I  thought something fishy was going on. The bubbly waitress reassured me that the decadent crab cakes were indeed vegan. Taking a cue from Reverend Brown in Coming to America, I sopped them up with warm vegan buttered biscuits. 
   After doing a little research I found that you can buy veggie crab meat online. I also realized that it costs a lot more than I'm willing to shell out, so I've come up with a cost-effective (see: cheapo) way to make it. Saving money is both smart and sexy.


Here's what you need:

  •  1 lb firm tofu
  •  3 tbsp crumbled Nori Flakes 
  • ½ cup panko bread crumbs
  • Juice of ½  of lemon 
  • 1 tbsp dried parsley flakes
  • 1 heaping tsp of Old Bay Seasoning Mix

Here's what you gotta do: 

1) Preheat oven to broil
2) In a large bowl crumble tofu by hand . Add the nori flakes and set aside for 5 min.
3) Add bread brumbs, tamari, lemon, juice , Old Bay, parsley to the Tofu and mix well. 
4) Shape the mixture into 2 inch patties and place on a lightly oiled baking sheet.  
5) Broil for 5 minutes,  use a spatula to gently turn the patties over and broil the other side for about 3 minutes. ( as with real crab cakes these patties will hold lightly together so gentle spatula work is key) 
6) Let cool for 1 minute before serving.


* Try it with sauce of melted veggie butter , lemon and garlic or with your favorite hot-sauce. 
* For crab cake sandwiches, make the patties larger and serve with dijon mustard and toasted bread. 


                                       Life is Delicious...Go taste it!

Wednesday, July 27, 2011

When Life Gives You Lemons...Make Lemon Curd

             On lazy afternoon I peeked into the refrigerator and realized the only thing in there, besides condiments, was half a pan of corn bread. I did mention that this was a lazy afternoon, so I warmed up the corn bread and while it was delicious, it needed something. I scoured the jars of exotic marinades and tubes of sauces and came across a half eaten jar of lemon curd. I had never had lemon curd before but my beau seemed to like it. I spread the creamy concoction on the corn bread and took a small bite. It was instant love and I was left wandering how could I not have known about this tart-sweet jar of heaven. 
            When I returned home to my own empty refrigerator I knew that lemon curd would be on my shopping list. Soon after wandering down the baking aisle I spotted the exact same brand of lemon curd that had turned me out and out of habit I picked up the jar and turned to its ingredients list. Ugh, why did I have to go and ruin a good thing, it's true; ignorance is bliss. The decadent spread was made with egg, heavy cream, and the neighboring brands were no better; featuring other undesirable ingredients like animal based gelatin and butter. I knew this could not be the end of my new love affair with lemon curd. There were so many dishes I wanted to slather it on; pancakes, waffles, toast, fresh fruit, and of course, corn bread. I was able to rekindle the food flame by using coconut milk instead of heavy cream and corn starch instead of gelatin or eggs as a thickener. The result was a sweet tooth satiating tryst that only felt naughty. 


Here's what you need:


  • ¾ cup coconut milk
  • ½ cup fresh lemon juice 
  • 3 tablespoons cornstarch
  • ½ cup unbleached organic sugar (or sugar replacer) 
  • 2 teaspoon vanilla
  • 1 teaspoon lemon zest


 Here's what you gotta do:

1. In a medium sauce pan combine the coconut milk, lemon juice, cornstarch, sugar, and vanilla. 
2. Heat pan at medium heat for 2 minutes, stir occasionally to break up any lumps. Turn heat to low and continue cooking for another 3 minutes or until the mixture is thick and lump free. 
3. Once the mixture has thickened remove from heat and add the zest.
4. Let the lemon curd cool for 2 minutes before serving.


* Store remainder in refrigerator for later use. Tastes good warm or cold!


Snazzy red grater I picked up for $1
Lemon zest can be made by using a zester or a vegetable grater with a fine grating plane (aka little holes). Before juicing the lemons run them across the grater lightly to remove to top yellow layer of lemon peel. You don't want to get to the pith (white layer) of the lemon, this part is bitter and will make your curd bitter rather than tangy. One large lemon will make about a tablespoon of zest.


                   Life is Delicious...Go Taste it!

Wednesday, July 20, 2011

Southernplayalisticadillac Sushi


Memorial Day has come and gone and that can mean only one thing: peach season is in full swing. Coming second only to Outkast, Goergia peaches are one of my favorite exports from the southern state. Below is a unique way to use peaches in a savory sushi role.


Nori is the Japanese name for edible seaweed. The nearly
transparent green sheets can be found in the Asian foods
section of most grocery stores. 
Here's what you need:
  • 4 tbsp. tamari or soy sauce
  •  2 tsp.  minced garlic
  • 1 tsp. ground ginger
  •  1/4 tsp. cayenne pepper
  • 1 cup of orange juice
  • 14 oz. package of firm tofu sliced into 12 1/2inch strips
  • 2 firm peaches peeled & cut into ¼ inch strips
  •  3 green onions sliced lengthwise
  •  6 Nori sheets
  •   3 cups short grown brown rice (cooked)
  •  2 oz. of rice vinegar
  • 1 ½ tsp. sugar
  •  ½ tsp. salt


Here's what you gotta do:
1.     Combine soy sauce, garlic, ginger, pepper, and orange juice in a bowl and mix well. Add the tofu strips and marinate for 20 minutes.
2.     Combine the rice vinegar, sugar and salt into a small saucepan. Heat the mixture on medium heat until the sugar and salt are dissolved, but do not boil.
3.     Let the vinegar mixture cool then pour over the rice. Gently fold the liquid into the rice and let it sit for ten minutes.
4.     Place the nori sheet shiny side down onto a sushi-rolling mat or a flat surface to hand roll.
5.     Gently spread the rice mixture onto the nori, leaving a 1-inch lip to seal the sushi after rolling.
6.     Lay two strips of tofu, some onion, and peaches on the rice lengthwise along the bottom third of the rice.

7.     Lift the nori at the edge closest to you and fold it to cover the filling, now lift the mat and roll the nori away from you, while pressing firmly.
8.      Roll until the lip is sealed.  Set the roll aside with the seam down.
9.     Repeat steps 4 through 8 five more times.
10.   Cut the rolls into 8 pieces serve with soy sauce. 


                                    Life is Delicious...Go taste it!


Wednesday, July 13, 2011

Kale Salad with Indian Spiced "Chicken"

  The hostel reservations were made and my one-way ticket to Nepal was secured. The plan was to fly into Katmandu and backpack into India. This dream trip was to end with a mango lassi sipped slowly in the southern city of Bombay. My trip to India was foiled by an acceptance into law school, which started just a week after the trip was slated to start.  The small amount of disappointment was quickly crushed by the notion of attending law school, a dream I once thought was more far-fetched then living on a house boat in Kerala.
   These days my taste for India is satiated in part by indulging in its cuisine. Southern Indian food is traditionally vegetarian and many of the spices needed are readily available stateside.  One of the most distinct of Indian spices is Graham Masala. While it's ingredients vary by region, it typically includes cumin, coriander, ginger, cardamom, turmeric, garlic, cinnamon, and chili pepper. The pungent spice blend can be sprinkled on warm naan or into a bag of hot popped corn...yum!  A commercially made brand is used in this recipe to season faux chicken strips and remind me that India isn't going anywhere.


Here's what you need:

  • 8 oz bag of Vegan Chick'n strips (or extra firm tofu, drained & cut into 1/2 inch strips)
  • 1 tbsp of olive oil
  • 1 tsp of Graham Masala
  • 1/2 a small red onion thinly sliced
  • 1/4 tsp Cayenne pepper
  • Juice of half a lemon
  • I used Morning Star Meal Starters
    Chick'n Strip
    s
  • Large head of Kale rinsed and chopped


Here's what you gotta do:

  1. Heat the olive oil to medium heat in a large skillet or wok 
  2. Add the onion and graham masala. Sauté for 2 minutes.
  3. Raise heat to medium high and add chick'n (or tofu).  Heat for about 4 minute or until brown
  4. Stir in the kale, cayenne pepper, and lemon juice.  Heat for 3 minutes or until kale has wilted slightly.
  5. Serve hot and enjoy!

  
** if using tofu add a generous pinch of salt and 1/2 tsp  of cumin at step 3**

Serves 4 as a starter or side salad.


                                                            Life is Delicious ...Go taste it!

Saturday, July 9, 2011

Tasting : Hemp Milk

    Whenever I do a big grocery run I try to pick up at least one item that is not a part of my usual list. This last grocery outing I saw that hemp milk was on sale. At a dollar less than the surrounding dairy replacements, I had no excuses.  I've always wanted to try this kitschy dairy replacer, but couldn't justify veering from my sure bet (sweetened vanilla almond milk) for the higher priced alternative. 
  Despite the fact that Hemp milk comes from the infamous cannabis plant, mother fauna of marijuana, it will not get you high.  Unlike pot, which comes from the bud of the cannabis plant, hemp milk and most hemp products do not contain THC, the mind-altering chemical associated with marijuana.
      So why drink hemp milk? Hemp milk serves as a good alternative to the typical dairy substitutes because it is made from the hemp seed and does not carry any of the allergens that trigger soy or tree nut allergies. It is also chock full of Omega 3 and 6 fatty acids (the good fat).
        I tried the sweetened vanilla flavor served ice cold as suggested on the box. It was creamy and similar to the consistency of almond milk, but I thought it was just ok. There was a hint of cardboard flavor that I wasn’t exactly thrilled about. When poured over cereal or added to a smoothie the cardboard flavor disappeared. I don’t have any of the allergies I mentioned and perhaps the cardboard flavor is indicative of the brand I choose, but I don’t think this will be replacing my usual almond milk.
            

Wednesday, July 6, 2011

Cussing Gravy


Nutritional Yeast
   Ever tasted something that was so surprisingly good that you wanted to cuss?  It's almost like the flavor lubricates your lips and the four letter word slips right out. Well that's exactly what happened when I experimented with gravy making. I'm not ashamed to admit, I've made gravy that is less than edible in my quest to find "the perfect gravy". My version of perfect means the gravy has to be worthy of being served up along side my grandmother's biscuits and that is a pretty high bar. The not-so-secret weapons used to make vegan gravy so good it makes you wanna cuss are tamari and nutritional yeast.
   Tamari is sort of like soy sauce, but slightly thicker and it has a more complex flavor. It is lower in sodium and tends to be a little easier on the palate then soy sauce, which can overwhelm a dish. The addition of the tamari gave this gravy its color and salty depth. Don't fret if you can't find it in the Asian foods section of your local grocery store just add soy sauce instead. 
  The second key here was the addition is nutritional yeast.  Not to be confused with the active yeast we use in baked goods, nutritional yeast is sold only for it's nutritional value and is rich in B vitamins. Nutritional yeast is closely related to edible mushrooms and is typically used as a cheese flavor replacement in vegan dishes. While I don't think it tastes much like cheese, it does add an incredible savory kick to dishes. It adds pizzazz to plain rice, sass to soups, and puts some bang in boring vegetables. It can be found in most health food and natural stores, however, I found it in my local grocery store in the "natural foods” section. I think this was the addition that kicked this gravy up a couple of notches. 

 Special Tip : Make sure the kids are out of the room before you try this gravy!


Here's what you need: 
This gravy is #@*% good!

   1 ½ tbsp olive oil
   ½ red onion finely sliced
   ½ tsp of cumin
   2 tbsp flour
   1 ½ tbsp cornstarch  
   1 ½ vegetable broth
   1 tbsp of tamari
   1 tbsp of nutritional yeast      


 Here's what you gotta do: 

1)   Heat olive oil  in a small sauce pan on a medium  heat
2)   Add the onion and cumin . Sauté until the onion is translucent
3)   Add the flour, starch and vegetable broth . Bring the mixture to a boil while stirring to beak up lumps.
4)   Cook an additional 2 minutes on boil and lower the heat to a medium low. Stir in the tamari and nutritional yeast. Cook for an additional 3 minutes on low.
Serve  warm.


                                                   Life is Delicious...Go taste it! 


Sunday, July 3, 2011

Go B-A-N-A-N-A-S


Eating a half a tub of ice cream after running 5miles seems a bit nuts. Here's a way to go bananas without derailing all of you summer hot body dreams. A simple "ice cream" to satisfy the need for a creamy cool treat after all of your hard work...You deserve it.


Here's what you need:

  • 1 frozen banana (per serving you intend to make)
  • 1 tbsp cold vanilla soy milk (per serving)


Here's what you gotta do:

  1. Put soy milk and banana in a blender and blend on "cream" setting until the the mixture is the consistency of ice cream. Serve immediately.


That's it! I know it's so simple it almost seems sinful...but its not so eat up!


                                                     Life is Delicious...Go Taste it!


Wednesday, June 29, 2011

Black Bean and Polenta Breakfast Plate

I love cereal in the morning, but my organic barley, flax and (insert trendy healthy berry here) rarely keeps me full past 10:30am. When I have a little extra time in the morning, ie, I haven’t hurled my alarm clock across the room; I enjoy a heartier meal of Polenta and Black Beans. Polenta, once classified as peasant food, is a healthy low carb, gluten free, mixture of corn meal and water. Ready made polenta can be found in most grocery stores in either the Latin American or Italian sections.
Here is a healthy meal that’ll keep you going well into the lunch hour.  Using canned black beans and heat-n-serve polenta cuts down prep time but not the flavor.


Here’s what you need:
  • 2 medium tomatoes (diced)
  • 2 tbsps. finely diced red onion
  • 1 tsp. of lemon juice
  • ½ tsp. of dry basil
  • a generous pinch of Ground Cheyenne pepper
  • Prepared polenta
  • Olive oil
  • 15 oz. can of black beans
  • 1 tsp. cumin
  • Salt

Here’s what you gotta do:
1)   Combine the tomatoes, onion, lemon juice, basil, and Cheyenne pepper in a bowl. Add a pinch of salt and set the salsa aside.
2)    Heat a lightly oiled pan to a medium heat.
3)    Slice the polenta into ¼ inch rounds. Cutting roughly 6 rounds per person you intend to serve (more for big eaters).
4)   Add the polenta rounds to the heated pan and cook for 4 minutes on each side or until golden brown.
5)    While the polenta rounds are browning, combine black beans and cumin in a medium sauce pan. Add salt to taste and cook on medium heat until hot.
6)   6) After the polenta has browned and the beans are thoroughly heated, place 6 polenta rounds on a serving plate and top with a ¼ portion of the black beans and tomato salsa.

Serves 4 (or 2 really greedy people )


                                                        Life is Delicious...Go taste it!


Friday, June 24, 2011

Tempting Tempeh Reuben

Chicago has become one of my favorite foodie haunts.  Besides being the birthplace of the deep dish pizza,  it is also home to a wonderful vegetarian dive: The Chicago Diner. This hipster hangout cranks out some of the best vegetarian comfort food I’ve ever tasted. My last trip to the unpretentious little diner left me stuffed and inspired.  I’ve tweaked The Chicago Diner recipe for their Radical Reuben sandwich just a smidge.

Tempeh - Protein packed meat substitute made from fermented soy beans and grains.
* The tempeh has to be prepared a day ahead or at least six hours before mealtime.
What You Need:
  • 1 lb. of Tempeh (sliced thinly)
  • 1 cup of Pickle juice
  • 1 cup of water
  • 1/2 cup of Beet juice (Borscht will work here)
  • 1 tsp. of crushed garlic
  • 1 tsp. Pickling Spice
  • 1/8 tsp. of ground black pepper
  • 6 drops of liquid smoke (optional)
  • Thousand Island Dressing  (or you can mix up a vegan version below)
  • 8 slice of Rye or Pumpernickel Bread
  • 4 slices of Gruyère or Swiss cheese (Galaxy Nutritional Foods makes good soy cheeses)
  • Sauerkraut (to garnish)
What you need to do:
- In a medium saucepan combine the water, pickle & beet juices, garlic, pickling spice, black pepper, and liquid smoke.
- Bring liquids to a boil, and then reduce heat to medium. Let simmer for 15 minutes.
- Put tempeh slices in a baking dish.
- Strain and pour the beet mixture over the tempeh, cover the dish and refrigerate overnight (or at least 6 hours to marinate thoroughly).
** Okay, so you have to wait…it’s worth it!
What you do the next day (or 6 hours later):
-       Preheat your oven to broil.
-       Drain the tempeh slices, and set aside.
-       On a baking sheet, arrange 8 slices of bread, broil till lightly toasted (you can skip this step but I’m not a fan of soggy bread)
-       Top 4 of the toasted bread slices with the tempeh and cheese. (Setting the other slices of bread aside.)
-        Broil for about 5 to 7 minutes (watch carefully to avoid making this dish a blackened Reuben sandwich)
-       Transfer Seitan-topped bread slices to serving plates, and garnish with sauerkraut.
-        Spread remaining 4 bread slices with the Thousand Island dressing ( or Vegan Reuben Sauce), and place on top of Sandwiches.


                                                                   Life is Delicious...Go Taste it!
                                                                            Keo'vonne

I LOVE Collard Greens!


Anyone who knows me, knows that I LOOOOVE Collard greens. They are perhaps my favorite comfort food. But they are not always vegetarian friendly. Every southern aunt will tell you that you absolutely have to add smoked ham-hocks to tthe collard greens. Oh, no! Collards are a fibrous green , so the purpose of the ham-cocks is to provide the fat that the helps break down the green into the soft palatable soul food that we enjoy.  The ham-hocks also add a smokey flavor that can’t beat, or so I was told.
Fall semester finals are here and my nerves are wrecked. I need comfort food to get me through. No problem, just  replace the fat from the ham-hocks with olive oil. But it still needed that smokey flavor. I phoned a friend on this (my mom). The solution: liquid smoke. Duh, the flavor of mesquite in a bottle (what will they think of next?) Thank goodness they thought of fake bacon. That’s right folks.  The salty flavor would come from Morning Stars fake bacon strips. Yum! Here’s the breakdown:
2 lbs of chopped Collard greens
½ of a large red onion
2 teaspoons of chopped garlic
6 strips of Morning Star vegetarian bacon (or any fake bacon product)
2 tablespoons of olive oil
2 cups of water
1 vegetable bouillon cube
I teaspoon cumin
1 teaspoon liquid smoke
Bragg’s liquid aminos (optional)

The Unusual Suspects
Now here’s what ya gotta do:
-Heat olive oil in  a wok or large frying pan. When the oil is hot add the garlic.
-When garlic is just turning brown add onions. Cook onions till brown.
-Add chopped fake bacon strips.
-When everything is nice and brown and the bacon strips start to crisp, add the collard greens. Stir fry over a medium heat until the greens are wilted. This will smell like heaven but don’t eat it yet!
-While this browning is going on, in a large pot, dissolve the bouillon cube in the water and bring to a light boil.
-When greens are wilted add this to the pot of boiling water, and bring to a boil. Once the greens are a full boil, add the cumin and liquid smoke. then bring the heat to low.
-Let the greens cook for about 2o minutes on low.
*I like to add Bragg’s liquid amino just before serving. It’s sorta like soy sauce but more flavorful. Hot sauce would be nice too.


Study Aid in a Bowl
                                                                                                       Life is Delicious…go taste it!
                                                                                                      Keo’vonne